In this tutorial you are going to create an application using Asp.net core Mvc and Entity Framework Core.
You will follow these steps:- Create a project.
- Import folders and templates from another project previously configured.
- Create a Category entity.
- Create a Product entity.
- Generate the code for these entities.
In this case you don't have to create the folders and templates because you will get them from a preconfigured project.
-
Register in DynamoCode and Install client application.
- Click here for more details.
-
Log In in DynamoCode Web Site.
- Click here for Log in.
-
Download the Ecommerce project from the github repository.
- Download it from this ECommerce link.
This is an empty project. This project is structured in layers: Domain, Application , Infrastructure, Presentation. You are going to generate the domain entities, repositories, services, controllers and views for this project using DynamoCode.
Open the the ECommerce.sln solution file with Visual Studio or Visual Studio Code. In this tutorial we are using Visual Studio Code and the vscode-solution-explorer extension for navigate into the solution.
There are five projects into the solution:
Project Description ECommerce.Domain Domain Entities and Interfaces ECommerce.Application Services, Dtos and Mappers ECommerce.Infrastructure.Data.EntityFramework Data access using Repositories ECommerce.Migrations Migrations files for update the database ECommerce.Web Web Application -
Create a new project named ECommerce.
- Click the Create New button to create a new project.

-
Enter the values for the new project.
Name ECommerce Description ECommerce Project Package ECommerce Import Net Core Web App 
-
Select Admin option for the new ECommerce Project.
- Click the Admin link for the ECommerce project.

-
Explore the Admin Folders option and Admin Templates option on the left-hand side menu.
For this tutorial you don't have to create the folders and templates. They were imported from Net Core Web App project.
- Go to Admin Folders option on the left-hand side menu.
There are twenty folders associated to this project. This folder hierarchy is the same that you have in the ECommerce project in your local file system:
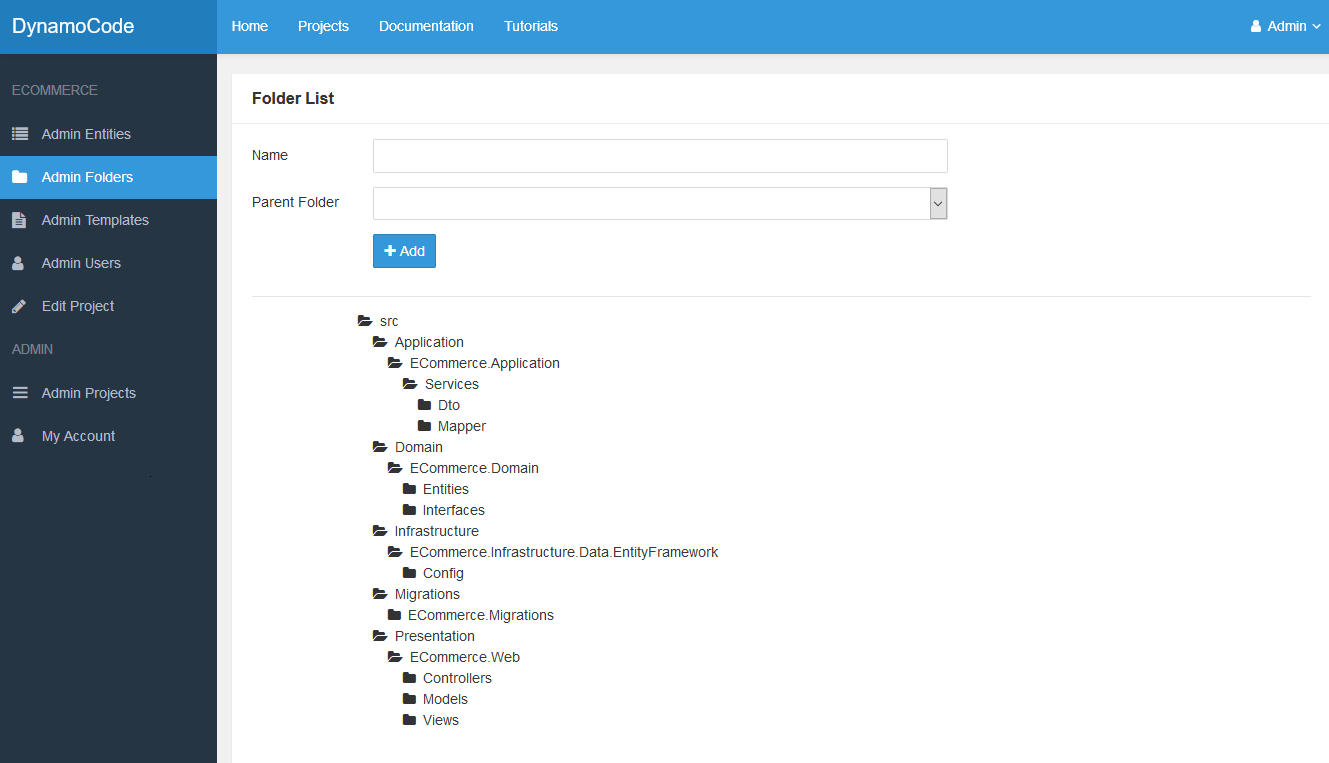
- Go to Admin Templates option on the left-hand side menu.
There are eighteen templates associated to this project. We are going to use these templates to create the domain class, repository class, dtos, services, controllers, models, migrations and views:
Name Description File Name Sub Folder Domain Class Domain Class Template {{model.Name}}.cs {{model.Package}} IRepository IRepository Template I{{model.Name}}Repository.cs Repository Repository Template {{model.Name}}Repository.cs Controller Controller Template {{model.Name}}Controller.cs ListViewModel ListViewModel Template {{model.Name}}ListViewModel.cs {{model.Name}}Models EditViewModel EditViewModel Template {{model.Name}}EditViewModel.cs {{model.Name}}Models Index View Index View Template Index.cshtml {{model.Name}} Create View Create View Template Create.cshtml {{model.Name}} Edit View Edit View Template Edit.cshtml {{model.Name}} EntityFramework Configuration EntityFramework Configuration {{ model.Name }}Configuration.cs Migration Migration Template {{'now' | Date: 'yyyyMMddHmmss'}}_Create{{model.Name}}Table.cs MigrationFiles Service Service Template {{model.Name}}Service.cs {{model.Package}} Delete View Delete View Template Delete.cshtml {{model.Name}} Api Controller Api Controller Template {{model.Name | Pluralized}}Controller.cs Mapper Mapper Template {{model.Name}}Mapper.cs Dto Class Dto Class Template {{model.Name}}DTO.cs Dependency Injection Dependency Injection Left Menu Left Menu _AdminMenu.cshtml -
Create a new entity named Category.
- Go to Admin Entities option on the left-hand side menu.
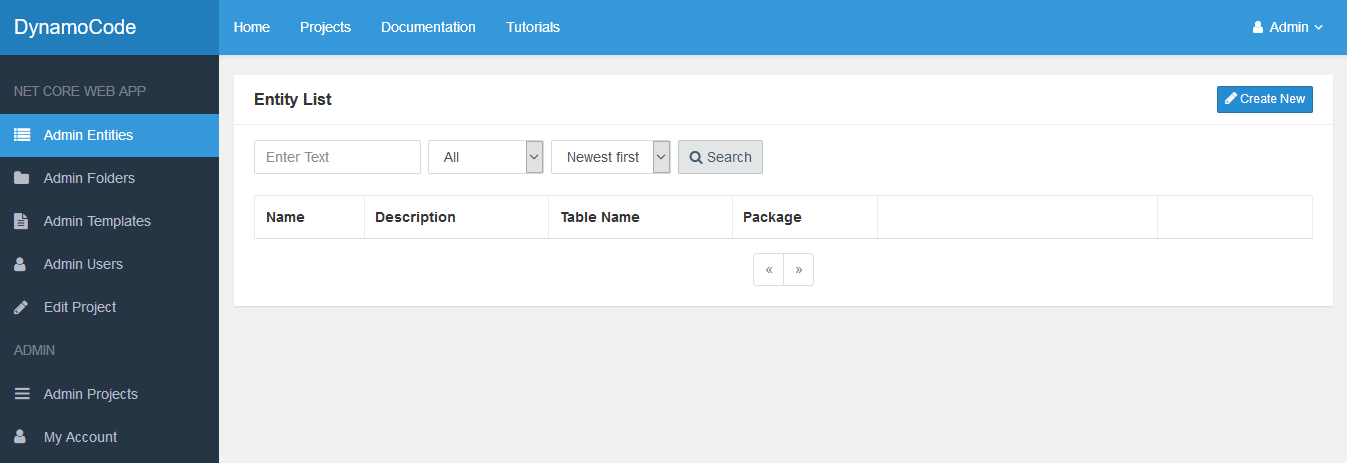
- Click the Create New button to create a new entity.
-
Enter the values for the new Category entity.
Name Category Description Category entity Table Name categories Package 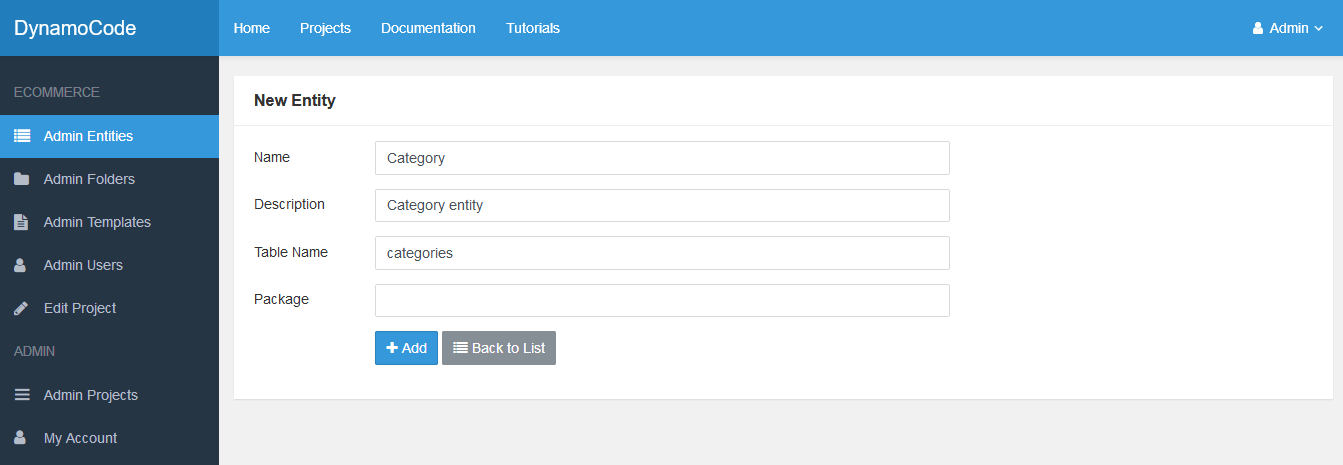
-
Add the Id and Name properties to Category entity.
- Add the Id property.
Name Id Var Type int Description Id Column Name id Db Type int Column Type Identity Visual Type Hidden Options Edit - Add the Name property.
Name Name Var Type string Description Name Column Name name Db Type varchar(250) Column Type Column Visual Type Text Options Required, List, Create, Edit 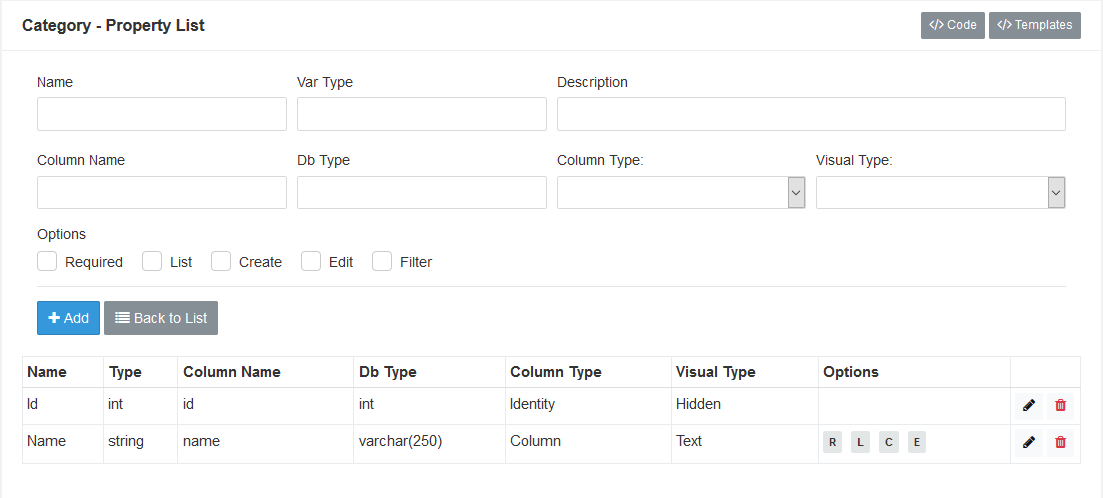
-
Create a new entity named Product.
- Go to Admin Entities option on the left-hand side menu.
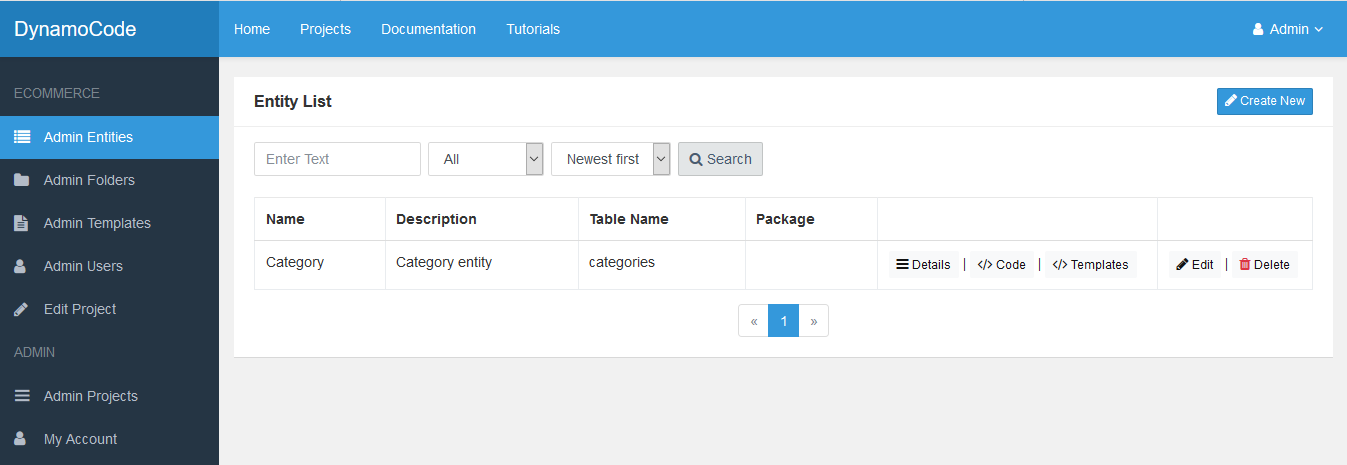
- Click the Create New button to create a new entity.
-
Enter the values for the new Product entity.
Name Product Description Product Entity Table Name products Package 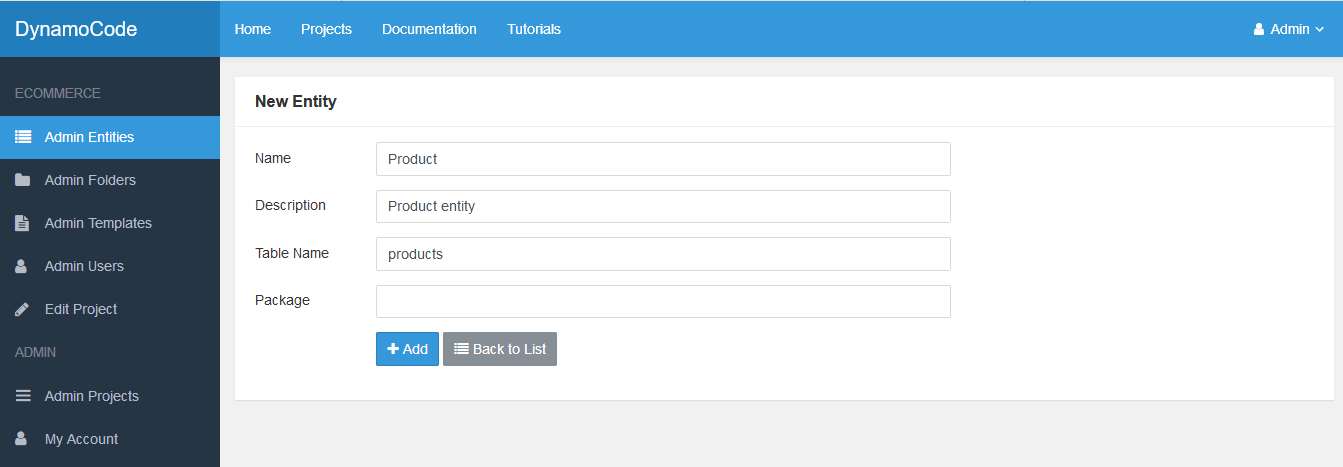
-
Add the Id, Name, Description, Price, InStock, ReleaseDate and CategoryId properties to Product entity.
- Add the Id property.
Name Id Var Type int Description Id Column Name id Db Type int Column Type Identity Visual Type Hidden Options Edit - Add the Name property.
Name Name Var Type string Description Name Column Name name Db Type varchar(250) Column Type Column Visual Type Text Options Required, List, Create, Edit - Add the Description property.
Name Description Var Type string Description Description Column Name description Db Type varchar(max) Column Type Column Visual Type Textarea Options Required, List, Create, Edit - Add the Price property.
Name Price Var Type decimal Description Price Column Name price Db Type decimal(8,2) Column Type Column Visual Type Text Options Required, List, Create, Edit - Add the InStock property.
Name InStock Var Type bool Description In Stock Column Name in_stock Db Type bool Column Type Column Visual Type Text Options List, Create, Edit - Add the ReleaseDate property.
Name ReleaseDate Var Type DateTime Description Release Date Column Name release_date Db Type datetime Column Type Column Visual Type DateTime Options Required, List, Create, Edit - Add the CategoryId property.
Name CategoryId Var Type int Description Category Id Column Name category_id Db Type int Column Type ForeignKey Visual Type Select Options Create, Edit 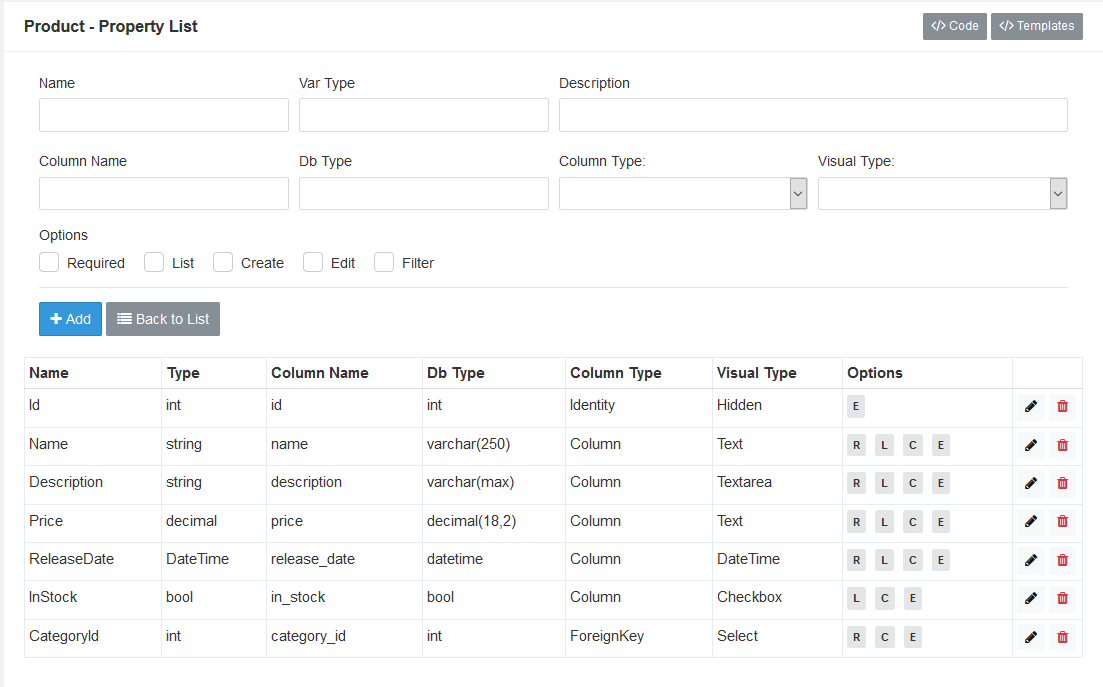
-
Generate the code for Category entity.
- Go to Admin Entities option on the left-hand side menu.
- Click the Templates option for the Category entity.
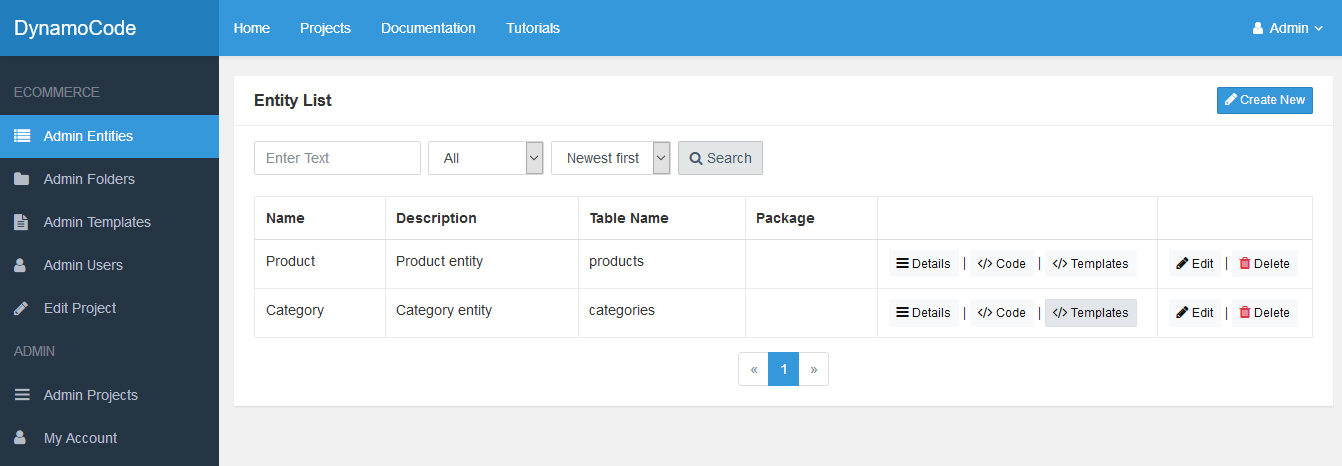
- Select all templates for the Category entity.
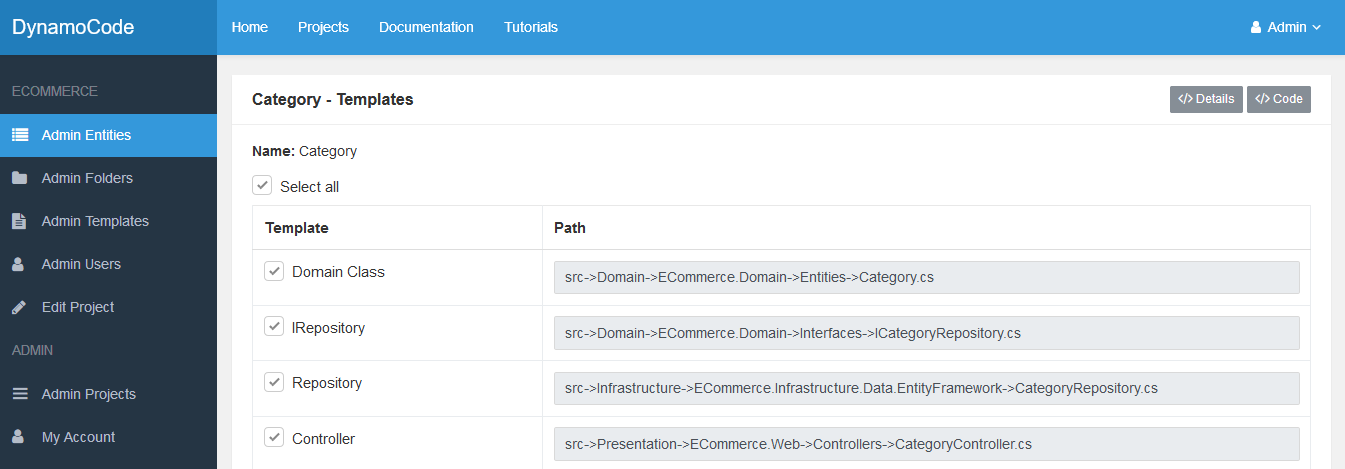
- Click the Generate Command button to generate a command.
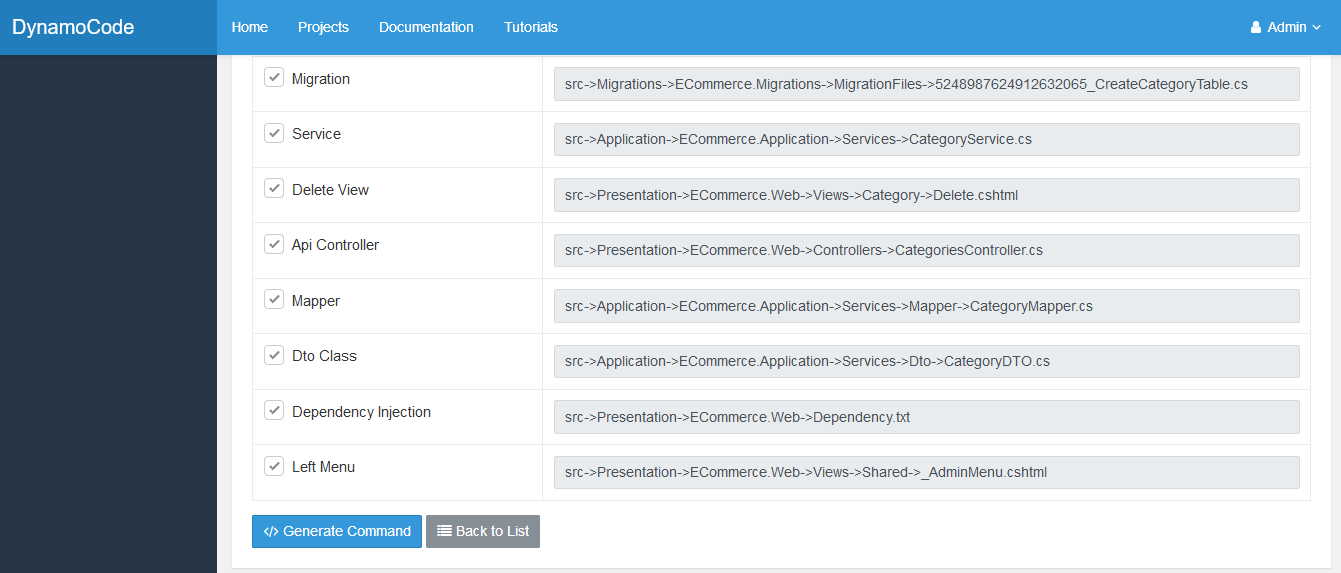
- This command should be copied and pasted in the client application.

-
Open the client application
- Open the ECommerce folder and inside this folder open the command line application (cmd in Windows).

-
Log in in client application
- Authenticate the client application by using this command and entering your credentials:
Command:dynamocode login
- Don´t close the client application. You are going to use it many times.
-
Generate the code files for Category entity.
- Go back to web application and copy the command.
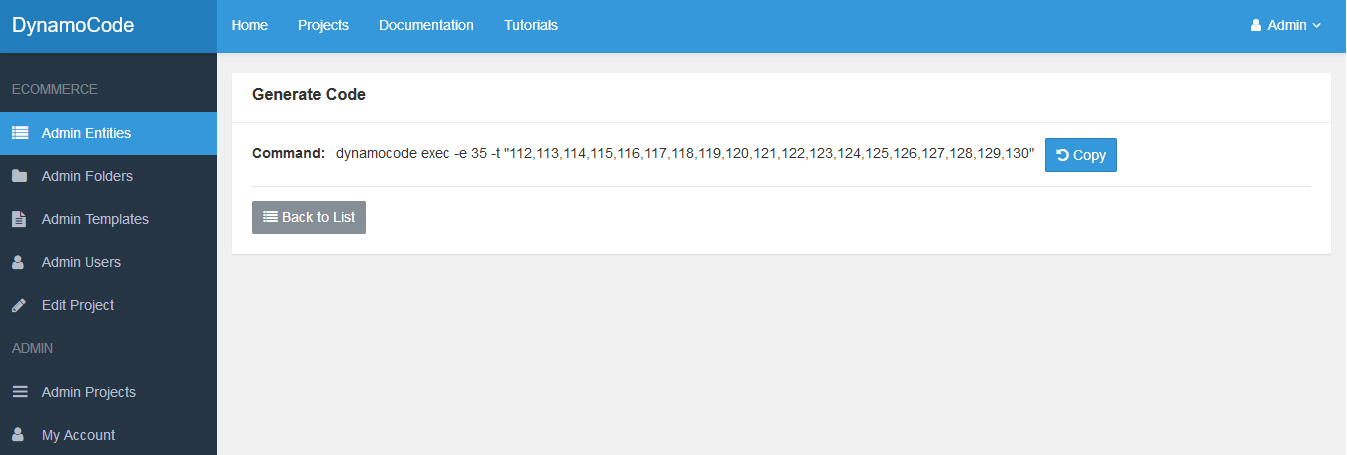
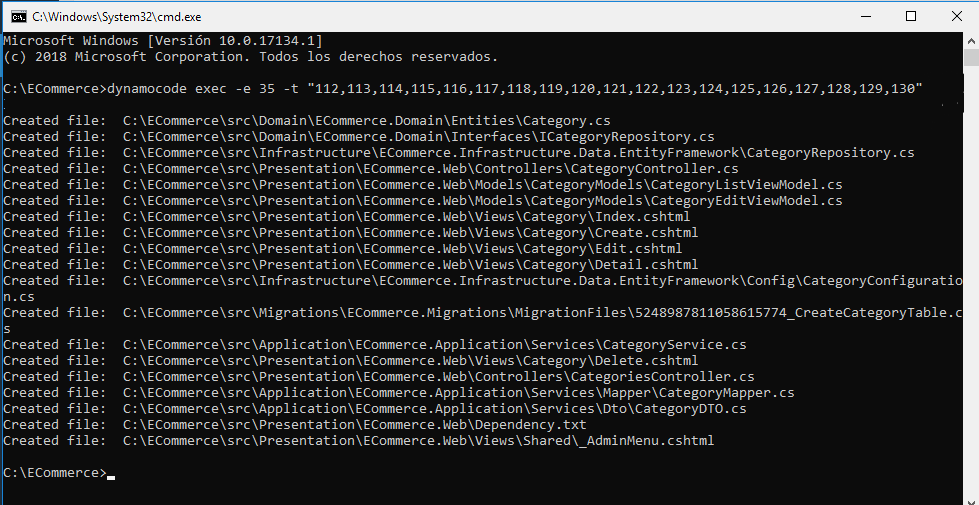
- Paste the command in the client application and press enter.

- You will see the code being generated by the client application file by file.
-
Generate the code for Product entity.
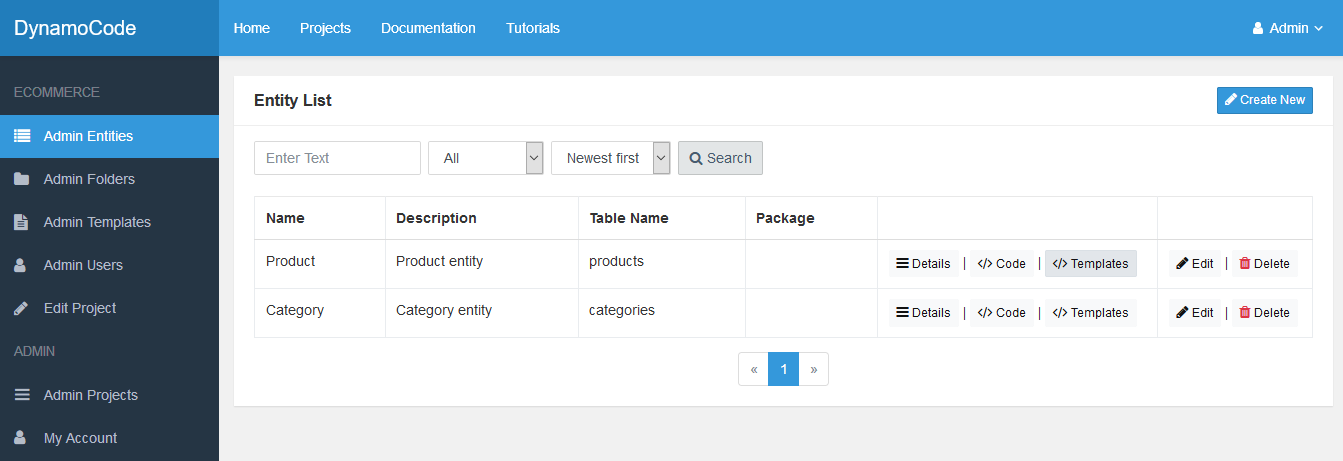
- Go to Admin Entities option on the left-hand side menu.
- Click the Templates option for the Product entity.
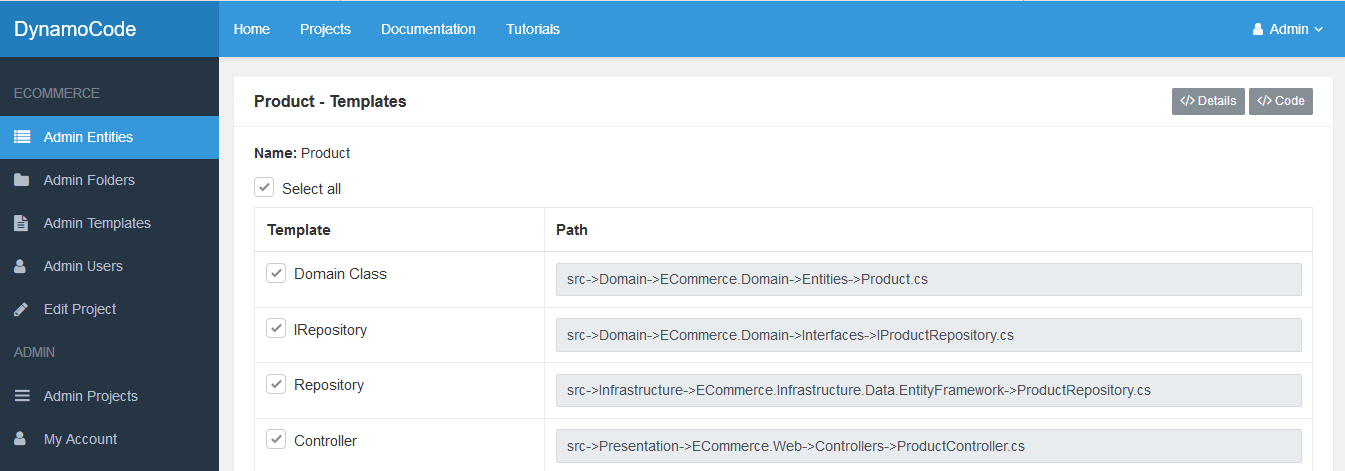
- Select all templates for the Product entity.
- Click the Generate Command button to generate a command.
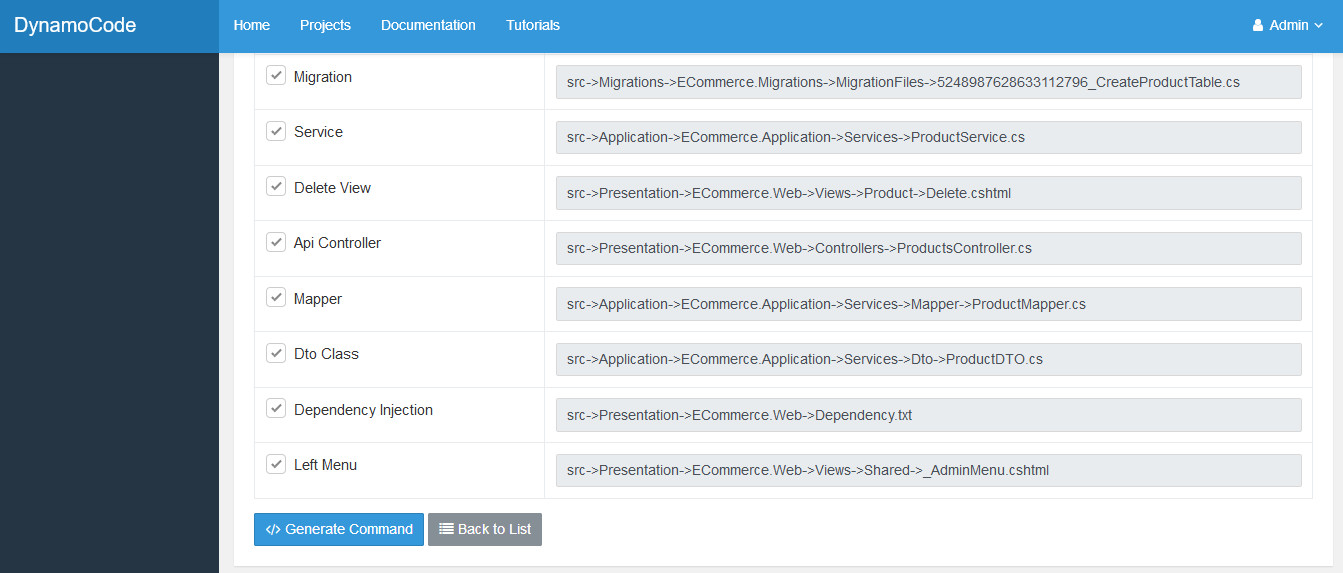
- This command should be copied and pasted in the client application.

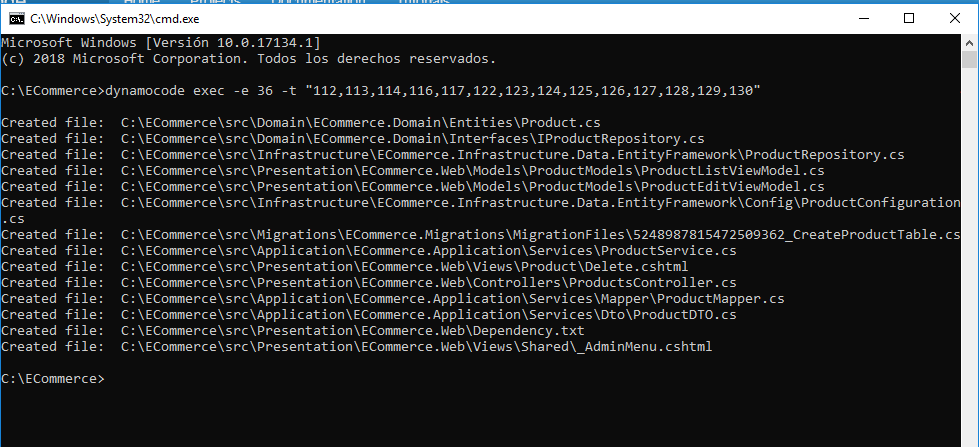
- Paste the command in the client application and press enter.

- You will see the code being generated by the client application file by file.
-
Run the Migration project.
- Go to Migration project and run it.
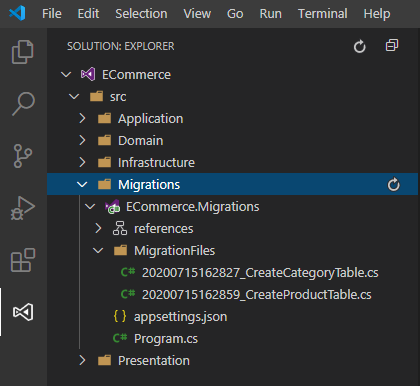
- The tables categories and products will be created in the database.
- In this example we are using Sqlite database. This database is located in Database folder.
-
Run the Web Project.
- Go to ECommerce.Web project and run it.
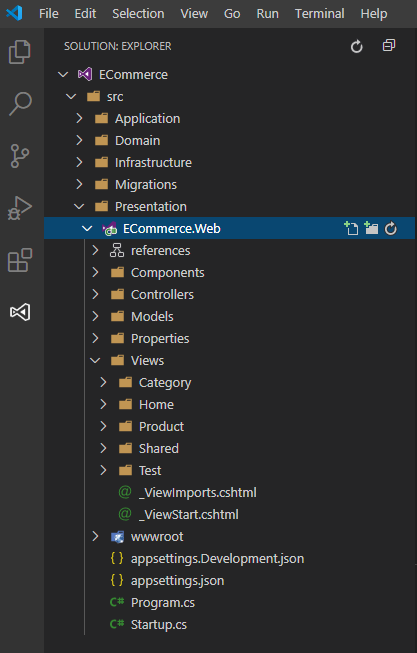
- Now you can admin the products and categories entities.